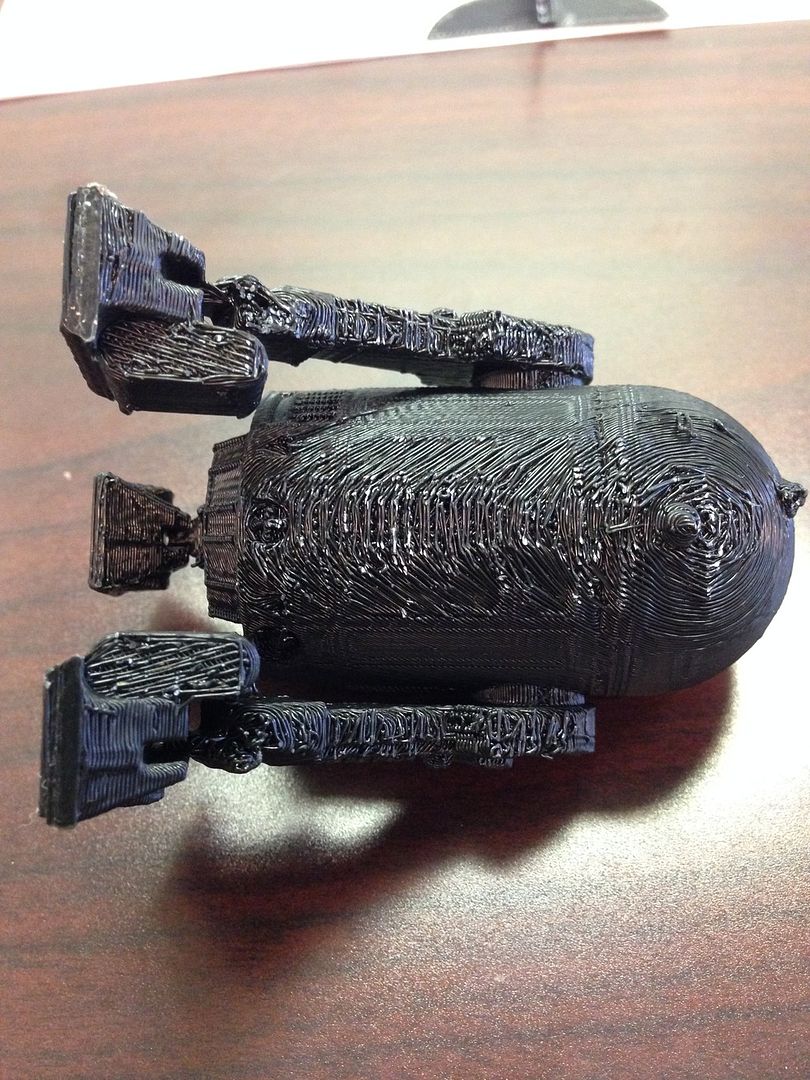
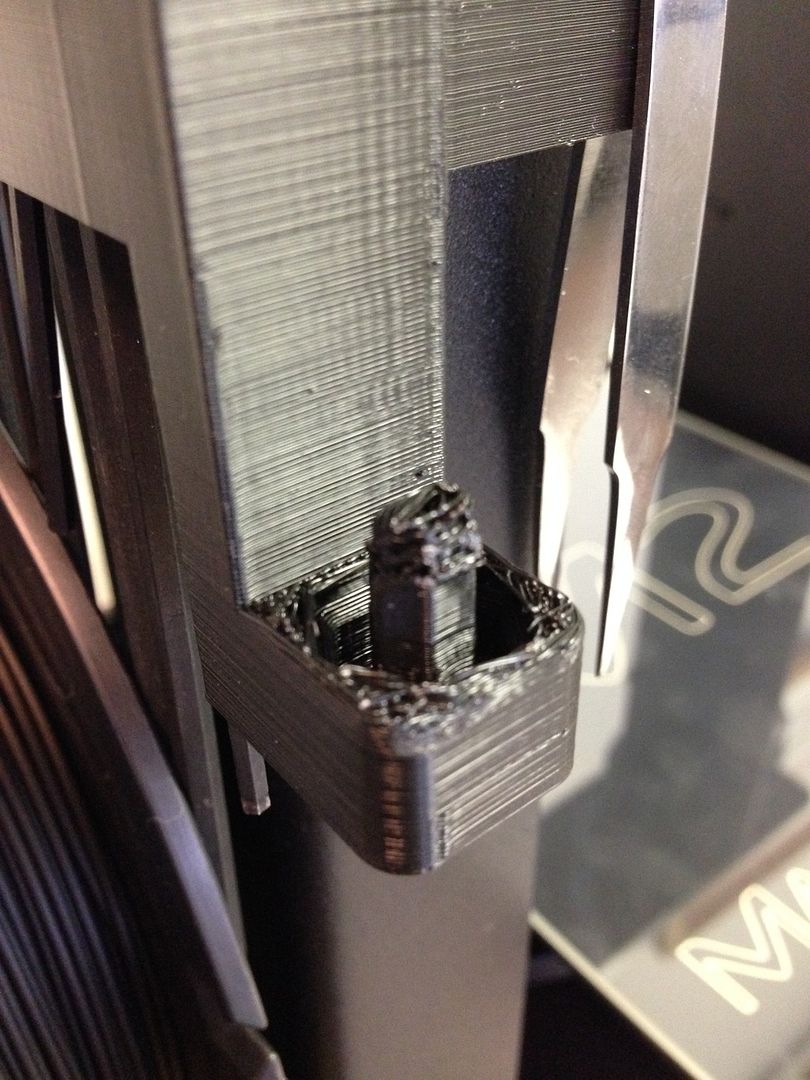
Yeah, totally normal, unfortunately. When you are essentially "printing over thin air" with overhangs that don't have two completely even ledges that the machine can bridge across, you can see that.
(My first half dozen prints of that tool holder looked just like that. It's a difficult print, because the support material that is necessary to keep the bottom from looking too loopy, is impossible to remove from those tight spaces.)
For that particular print, flip it over.
You'll get no looping on the post area, which is what winds up on top when you install it, and it's a lot easier to remove support from the other flat side, which ultimately winds up on the bottom anyway, and can't be seen. You can just sand it down if there are bad areas.
If you use support, there is generally less of that loopy effect, but it can be tedious to remove. You'll get the best support for it by making sure that the Bottom and Top Layer Separation in the Support Tab is set to zero, but it's still going to have some nubs, and it's a lot harder to separate from the print, so it's basically a balancing act.
The best thing to do is look at each design in terms of "How can i get the best print on this shape?" and then orient it in S3D to create the least work for yourself. Rounded areas of overhang are impossible to get a perfect print, even with support.
That R2D2, for instance, is never going to print without looping unless you stand it up on it's legs, (pods, whatever the heck you call those things.....). After, you'll have to remove the support out from underneath and probably do some sanding, but you'll get a great finish on the body of the print, and it will need less support.
Hope that helped - unfortunately there isn't any other way to do it if you don't cut it into parts and have one flat side down. (Had to do that on a few prints too.)


