Ask the MakerGear community for assistance...
-
helifrek
- Posts: 163
- Joined: Sat Nov 08, 2014 6:09 pm
Post
by helifrek » Sun Dec 21, 2014 4:44 pm
Hello all,
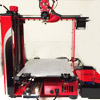
I printed a bridge test print last night and was hoping to get a more experienced eye to look at it. To me it looks like an 8 out of 10. The corners have some odd issue but I don't know what that is called. I shrunk the part in S3D because it was going to be HUGE! so I am not sure how well of a test it was for bridging.
Let me know what you guys see wrong with it and possible fixes. I love 3D printing and I love my M2 but I don't have all the knowledge you guys have (yet

)
Thanks in advance. Also let me know if there are any other good calibration tests I should do. I have done the 20x20x10 cube and the hollow box.
Makergear black PLA
Rsilvers PLA profile
15% infill
-
Attachments
-
- 20141221_092152.jpg
- (56.09 KiB) Downloaded 437 times
-
- 20141221_092127.jpg
- (62.39 KiB) Downloaded 437 times
-
- 20141221_092119.jpg
- (55.6 KiB) Downloaded 437 times
-
- 20141221_092107.jpg
- (51.35 KiB) Downloaded 437 times
-
- 20141221_092048.jpg
- (47.54 KiB) Downloaded 437 times
-
jimc
- Posts: 2888
- Joined: Wed Apr 09, 2014 11:30 pm
- Location: mullica, nj
-
Contact:
Post
by jimc » Mon Dec 22, 2014 1:01 am
looks pretty good. seems like your z height and 1st layer is right. only thing i see really is a little blobbing at the start of each line which is showing at the corners. its not much so turn the wipe feature on to the default 5mm and if thats not enough then add just a touch of coasting in s3d should take care of it.
-
metrons
- Posts: 58
- Joined: Fri Oct 24, 2014 7:42 am
- Location: San Francisco, Ca
-
Contact:
Post
by metrons » Thu Dec 25, 2014 10:59 pm
can you post what the model looks like in S3d or ...zbrush whatever you're using? its nice to compare the print to the model imo.
-
helifrek
- Posts: 163
- Joined: Sat Nov 08, 2014 6:09 pm
Post
by helifrek » Sat Dec 27, 2014 2:44 pm
Here are some screenshots!
-
Attachments
-
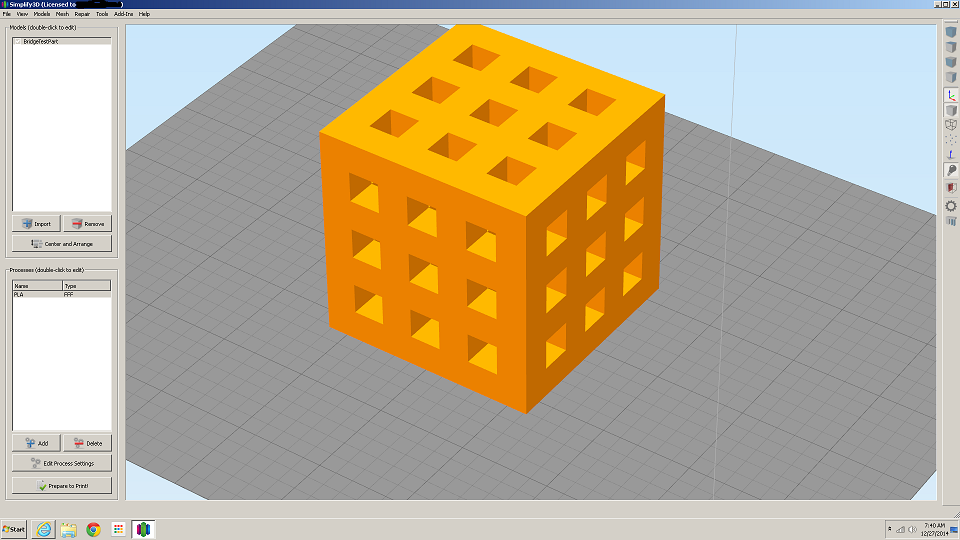
- screenshot 2.png (210.04 KiB) Viewed 8446 times
-
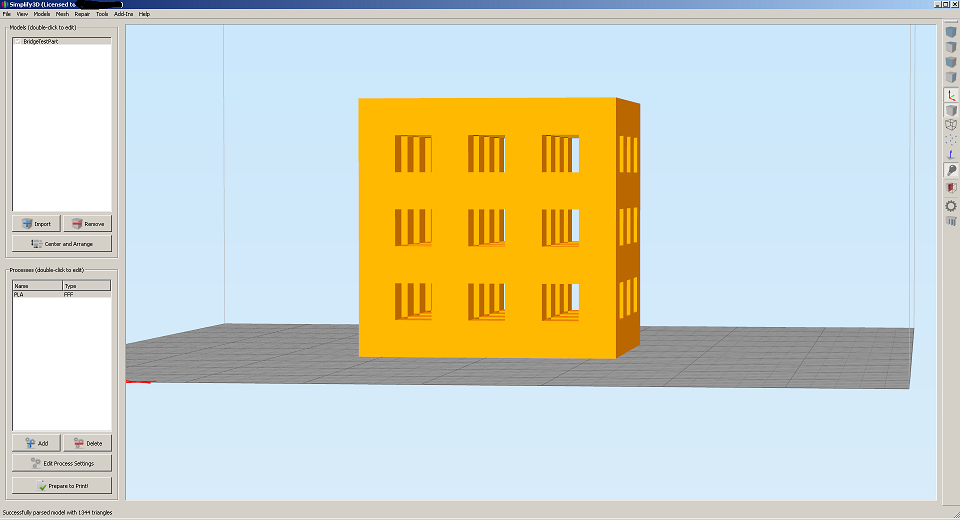
- screenshot 1.png (76.2 KiB) Viewed 8446 times
-
Tim
- Posts: 1205
- Joined: Thu Apr 10, 2014 2:19 pm
- Location: Poolesville, Maryland
-
Contact:
Post
by Tim » Sat Dec 27, 2014 8:38 pm
So all the holes are supposed to be square and about the same size. Your holes on the bottom are probably too small due to smashing in the filament on the first layer. Sometimes smashing it in is what you need to do to get it to stick well, and you just scrape off the excess with an X-acto knife. The holes on the side look a bit more rectangular than they ought to, although it could just be a trick of the light and/or camera angle; what do they measure? Too much rounding on the corners (mainly visible on the top side) means that you should probably turn the speed down a little, although you may want to just lower the ratio of the outer perimeter print speed relative to everything else.
-
helifrek
- Posts: 163
- Joined: Sat Nov 08, 2014 6:09 pm
Post
by helifrek » Sat Dec 27, 2014 9:12 pm
I guess it would have been a good idea to measure those before I gave it to a friend

I will have to try another one soon.
fighting with octoprint right now......